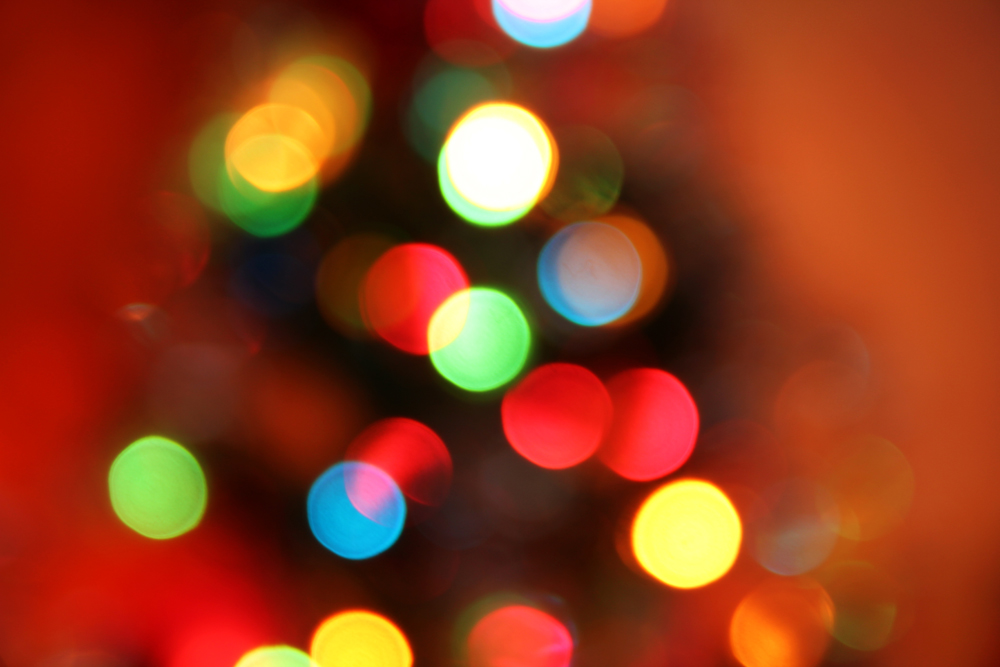
Something a little different to my usual posts today, photofans. I’m often asked about what’s known as bokeh – the out-of-focus background effect you often see in portraits. This looks particularly effective when there are several small lights, which can appear as lovely soft circles in the background.
(image: Florin Garoi)
Photography 101: How to Take Christmas Bokeh Shots
The holiday season is now just around the corner. For all you photography enthusiasts out there, Christmas is the perfect time to put your cameras to good use. You can use photos to exhibit your celebrated holiday traditions. Today, bokeh has become a popular technique used by many photographers during Christmas time. It is a word that came from the Japanese word, boke, meaning “haze” or “blur”. Holiday photographs with a little bokeh in the background create beautiful portraits. To achieve this, you can experiment a little using ordinary camera kits.
Equipment Suggestions
You can use any camera with an aperture that can be controlled like the Nikon P7700 or D800. However, a camera with a bright aperture such as f/1.4-f/2.8 would be more appropriate for this kind of photography. If you are going to use a compact camera, a mirrorless “bridge camera” or digital SLR, as long as you can control the aperture it will be easy for you to achieve the bokeh effect.
The brighter (or “faster”) the lens that you\’re using (i.e. the smaller the f stop number), the more impressive the effect will be. Using a camera with a larger sensor can also have a greater effect on your photographs. Most smartphones have a smaller sensor, regardless of the number of megapixels.
Technique
A fast aperture setting is the key here. If you are planning a Christmas themed photo setting in, say, Oxford Street or Regent Street during the winter, and you want to capture that Christmas vibe, you can use the widest aperture to focus on the subject. Make sure that you\’ve adjusted the aperture of your camera to its widest possible setting. An f/1.4 to f/2.8 is the ideal aperture setting when you want to create these kinds of effects on your photos, but up to f/4 should still be effective.
Keep your subject away from the light
Varying the distance between the lights and your subject will give you different effects — the closer your subject is to the light, the smaller the lights will appear in the photo and you won’t see much of a bokeh effect. If you keep the light as far as possible away, you\’ll be able to increase the blur/bokeh effect in the light, making them look like circles of light on the background while still maintaining the detail of your subject. Effects can then be translated to bespoke Christmas cards from Moon Pig or M&S, portraits to decorate your house with or even place mats.
Adjust ISO settings
ISO determines how sensitive your camera is to light. Low ISO is perfect when shooting in bright lights, giving you the highest quality photos. High ISO (800 and above), on the other hand, allows you to shoot under low light, but can produce a grainy output. Mid ISO settings will make your camera more sensitive to light, which is good when shooting in a well-lit room. A low ISO could be perfect for taking a picture of Shard London Bridge, one of the tallest buildings in London, on a bright day during Christmas time.
Bokeh
An interesting footnote is that there are several schools of thought on how the word Bokeh should be pronounced. It’s not an English word, it comes from Japanese. The most common “correct” pronunciation is “Bow (as in bow and arrow) Ke (as in kettle)”. Ask someone else and you might get a different answer though!